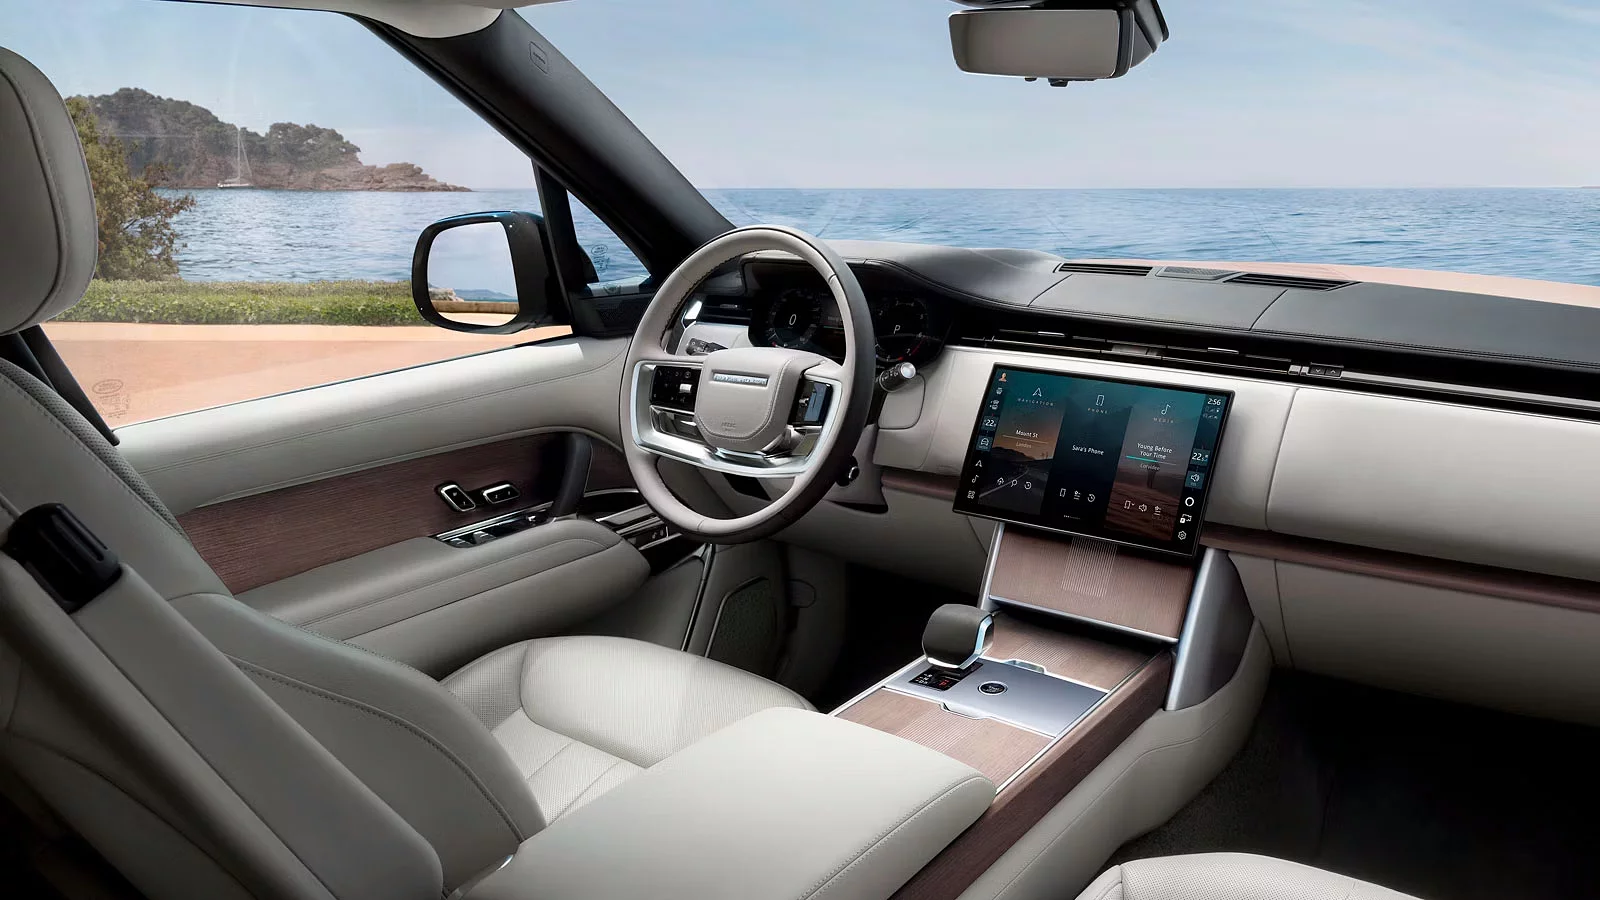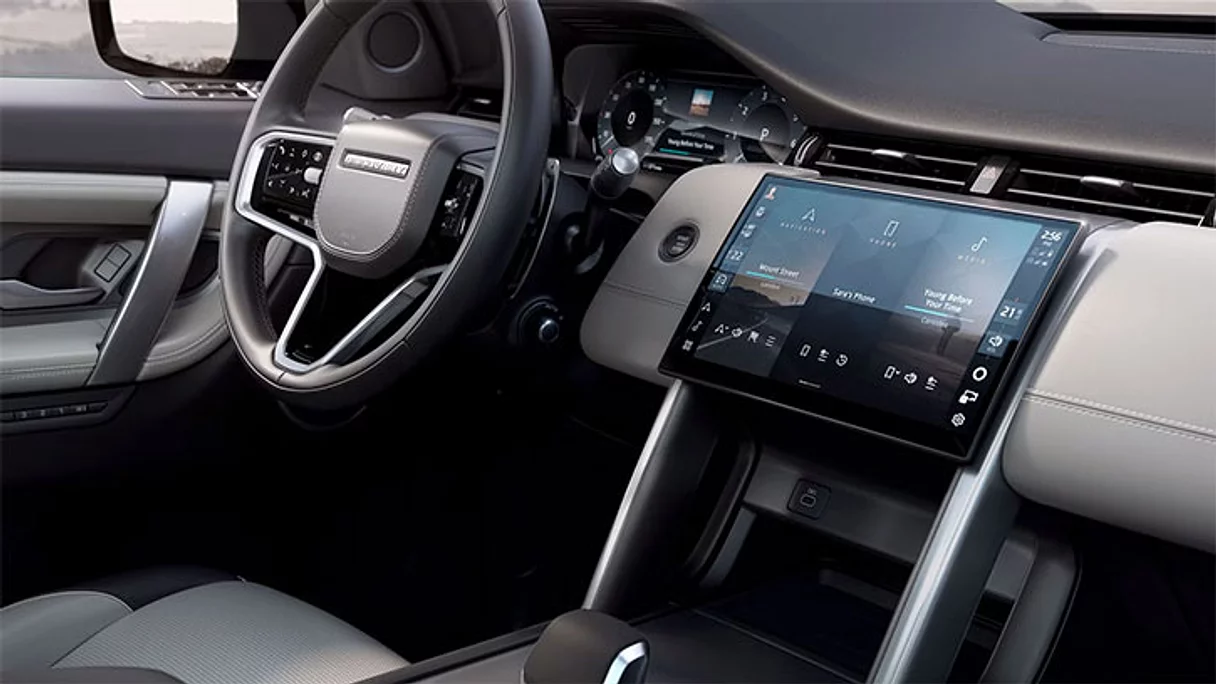
Designed to make every journey more enjoyable, InControl1 is the technological heart of your Land Rover’s cabin. Surround yourself with precise environment control, smart navigation, entertainment and security features.
Identify your infotainment system
YOUR INFOTAINMENT SYSTEM IS: PIVI OR PIVI PRO
Please note, access to some of the connected services below will depend on your vehicle’s InControl subscriptions.

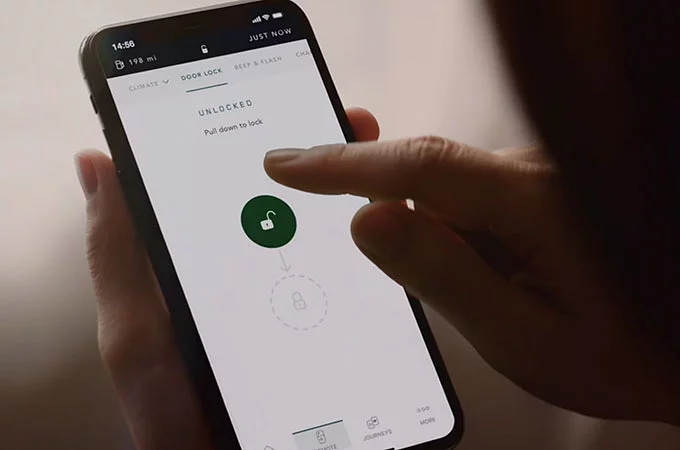
REMOTE APP

CONNECTED SPEECH

CONNECTED NAVIGATION PRO

SOS EMERGENCY AND BREAKDOWN CALL

WIFI-ENABLED WITH DATA PLAN

APPLE CARPLAYTM AND ANDROID AUTOTM

ONLINE PACK WITH DATA PLAN
SET UP YOUR PIVI

YOUR INFOTAINMENT SYSTEM IS: PIVI OR PIVI PRO
Please note, access to some of the connected services below will depend on your vehicle’s InControl subscriptions.

REMOTE APP

CONNECTED SPEECH

CONNECTED NAVIGATION PRO

SOS EMERGENCY AND BREAKDOWN CALL

WIFI-ENABLED WITH DATA PLAN

APPLE CARPLAYTM AND ANDROID AUTOTM

ONLINE PACK WITH DATA PLAN
SET UP YOUR PIVI

YOUR INFOTAINMENT SYSTEM IS: TOUCH PRO
Please note, access to some of the connected services below will depend on your vehicle’s InControl subscriptions.

REMOTE APP

SOS EMERGENCY AND BREAKDOWN CALLS

CONNECTED NAVIGATION

APPLE CARPLAYTM AND ANDROID AUTOTM
SET UP YOUR TOUCH PRO

YOUR INFOTAINMENT SYSTEM IS: PIVI OR PIVI PRO
Please note, access to some of the connected services below will depend on your vehicle’s InControl subscriptions.

REMOTE APP

CONNECTED SPEECH

CONNECTED NAVIGATION PRO

SOS EMERGENCY AND BREAKDOWN CALL

WIFI-ENABLED WITH DATA PLAN

APPLE CARPLAYTM AND ANDROID AUTOTM

ONLINE PACK WITH DATA PLAN
SET UP YOUR PIVI

YOUR INFOTAINMENT SYSTEM IS: PIVI OR PIVI PRO
Please note, access to some of the connected services below will depend on your vehicle’s InControl subscriptions.

REMOTE APP

CONNECTED SPEECH

CONNECTED NAVIGATION PRO

SOS EMERGENCY AND BREAKDOWN CALL

WIFI-ENABLED WITH DATA PLAN

APPLE CARPLAYTM AND ANDROID AUTOTM

ONLINE PACK WITH DATA PLAN
SET UP YOUR PIVI

YOUR INFOTAINMENT SYSTEM IS: TOUCH PRO
Please note, access to some of the connected services below will depend on your vehicle’s InControl subscriptions.

REMOTE APP

SOS EMERGENCY AND BREAKDOWN CALLS

CONNECTED NAVIGATION

APPLE CARPLAYTM AND ANDROID AUTOTM
SET UP YOUR TOUCH PRO

YOUR INFOTAINMENT SYSTEM IS: PIVI OR PIVI PRO
Please note, access to some of the connected services below will depend on your vehicle’s InControl subscriptions.

REMOTE APP

CONNECTED SPEECH

CONNECTED NAVIGATION PRO

SOS EMERGENCY AND BREAKDOWN CALL

WIFI-ENABLED WITH DATA PLAN

APPLE CARPLAYTM AND ANDROID AUTOTM

ONLINE PACK WITH DATA PLAN
SET UP YOUR PIVI

YOUR INFOTAINMENT SYSTEM IS: TOUCH PRO
Please note, access to some of the connected services below will depend on your vehicle’s InControl subscriptions.

REMOTE APP

SOS EMERGENCY AND BREAKDOWN CALLS

CONNECTED NAVIGATION

APPLE CARPLAYTM AND ANDROID AUTOTM
SET UP YOUR TOUCH PRO

YOUR INFOTAINMENT SYSTEM IS: PIVI OR PIVI PRO
Please note, access to some of the connected services below will depend on your vehicle’s InControl subscriptions.

REMOTE APP

CONNECTED SPEECH

CONNECTED NAVIGATION PRO

SOS EMERGENCY AND BREAKDOWN CALL

WIFI-ENABLED WITH DATA PLAN

APPLE CARPLAYTM AND ANDROID AUTOTM

ONLINE PACK WITH DATA PLAN
SET UP YOUR PIVI

YOUR INFOTAINMENT SYSTEM IS: PIVI OR PIVI PRO
Please note, access to some of the connected services below will depend on your vehicle’s InControl subscriptions.

REMOTE APP

CONNECTED SPEECH

CONNECTED NAVIGATION PRO

SOS EMERGENCY AND BREAKDOWN CALL

WIFI-ENABLED WITH DATA PLAN

APPLE CARPLAYTM AND ANDROID AUTOTM

ONLINE PACK WITH DATA PLAN
SET UP YOUR PIVI

YOUR INFOTAINMENT SYSTEM IS: TOUCH PRO
Please note, access to some of the connected services below will depend on your vehicle’s InControl subscriptions.

REMOTE APP

SOS EMERGENCY AND BREAKDOWN CALLS

CONNECTED NAVIGATION

APPLE CARPLAYTM AND ANDROID AUTOTM
SET UP YOUR TOUCH PRO

YOUR INFOTAINMENT SYSTEM IS: PIVI OR PIVI PRO
Please note, access to some of the connected services below will depend on your vehicle’s InControl subscriptions.

REMOTE APP

CONNECTED SPEECH

CONNECTED NAVIGATION PRO

SOS EMERGENCY AND BREAKDOWN CALL

WIFI-ENABLED WITH DATA PLAN

APPLE CARPLAYTM AND ANDROID AUTOTM

ONLINE PACK WITH DATA PLAN
SET UP YOUR PIVI

YOUR INFOTAINMENT SYSTEM IS: TOUCH PRO
Please note, access to some of the connected services below will depend on your vehicle’s InControl subscriptions.

REMOTE APP

SOS EMERGENCY AND BREAKDOWN CALLS

CONNECTED NAVIGATION

APPLE CARPLAYTM AND ANDROID AUTOTM
SET UP YOUR TOUCH PRO

YOUR INFOTAINMENT SYSTEM IS: PIVI OR PIVI PRO
Please note, access to some of the connected services below will depend on your vehicle’s InControl subscriptions.

REMOTE APP

CONNECTED SPEECH

CONNECTED NAVIGATION PRO

SOS EMERGENCY AND BREAKDOWN CALL

WIFI-ENABLED WITH DATA PLAN

APPLE CARPLAYTM AND ANDROID AUTOTM

ONLINE PACK WITH DATA PLAN
SET UP YOUR PIVI

YOUR INFOTAINMENT SYSTEM IS: PIVI OR PIVI PRO
Please note, access to some of the connected services below will depend on your vehicle’s InControl subscriptions.

REMOTE APP

CONNECTED SPEECH

CONNECTED NAVIGATION PRO

SOS EMERGENCY AND BREAKDOWN CALL

WIFI-ENABLED WITH DATA PLAN

APPLE CARPLAYTM AND ANDROID AUTOTM

ONLINE PACK WITH DATA PLAN
SET UP YOUR PIVI

YOUR INFOTAINMENT SYSTEM IS: TOUCH PRO
Please note, access to some of the connected services below will depend on your vehicle’s InControl subscriptions.

REMOTE APP

SOS EMERGENCY AND BREAKDOWN CALLS

CONNECTED NAVIGATION

APPLE CARPLAYTM AND ANDROID AUTOTM
SET UP YOUR TOUCH PRO

1Pivi, Pivi Pro and InControl features, options, third-party services and their availability remain market dependent – check with your Land Rover Retailer for local market availability and full terms. Certain features require an appropriate SIM with a suitable data contract which will require further subscription after the initial term advised by your Retailer. Mobile network connectivity cannot be guaranteed in all locations. Information and images displayed in relation to the InControl technology, including screens or sequences, are subject to software updates, version control and other system/visual changes depending on options selected. Full terms and conditions can be found here
2InControl account and subscription required. Fair usage policy applies. To continue using the relevant feature after its initial subscription period, you will need to renew your subscription and pay the applicable renewal charges.
3Update is subject to owner/driver consent. Network connectivity required.
Optional features and their availability may differ by vehicle specification (model and powertrain), or require the installation of other features in order to be fitted. Please contact your local Retailer for more details, or configure your vehicle online.
In car features should be used by drivers only when safe to do so. Drivers must ensure they are in full control of the vehicle at all times.
Compatible smartphones only.
Apple CarPlayTM is a Trademark of Apple Inc. Apple Inc end-user terms may apply.
Your car is prepared for Apple CarPlay. The services offered by Apple CarPlay depend on feature availability in your country, please see https://www.apple.com/uk/ios/feature-availability/#apple-carplay for more information.
Android Auto® is a trademark of Google LLC.
Your car is prepared for Android Auto. The services offered by Android Auto depends on feature availability in your country, please see https://www.android.com/auto/ for more information.
Amazon Alexa is available in specific markets only. Amazon, Alexa, Amazon Music, Audible and all related marks are trademarks of Amazon.com, Inc. or its affiliates. Certain Alexa functionality is dependent on smart home technology. Online Pack 12-month subscription required. To continue using the relevant Feature after its initial subscription period, you will need to renew your subscription and pay the applicable renewal charges. Available in connected markets only, please check with your Retailer.
Remote contains subscription services that can be extended after the initial term advised by your Land Rover Retailer. The Remote App will need to be downloaded from the Apple App Store/Google Play Store.

